Webuzo is a powerful control panel that simplifies the process of managing web applications on Linux servers and also offers 100s of applications via Softaculous. With an easy-to-use interface and support for a variety of applications with one click installation, Webuzo is one the best control panel one can start their web hosting journey with! In this blog, we will provide a concise set of instructions to effortlessly install Webuzo on a Linux server in just a few simple steps. Regardless of your level of expertise, whether you're a beginner or an experienced developer, this guide will expedite your setup process and get you up and running with Webuzo in no time
System Requirements and Installation Steps:
Check and ensure the following requirements are met that are essential for the Webuzo control panel installation:
1. A 64-bit Linux operating system with kernel version 2.6 or higher
2. Newly installed OS from the following list :
- CentOS 7.x / 8.x
- AlmaLinux 8.x / 9.x
- Ubuntu LTS 18.04 / 20.04 / 22.04
- Red Hat Enterprise Linux 7.x / 8.x
- Scientific Linux 7.x / 8.x
- Rocky Linux 8.x
3. YUM / apt-get / tar / wget packages installed
4. RAM - Minimum 1 GB (Recommended 2 GB for best performance)
5. Disk Space - Minimum 5 GB (Recommended 10 GB for best performance)
6. Open Ports - 2002, 2003, 2004, 2005, 21, 22, 25, 53, 80, 143, 443, 465, 993 , 587 and 3306 (It is recommended to keep these ports open on your server)
Once you have met the requirements. Lets begin the installation step by step
1. Update the Server
Before installing Webuzo, one needs to ensure that the server is up-to-date. It is essential to update the server at regular time intervals to get updated security releases.
For Red Hat based servers:
sudo yum update
For Debian based servers:
sudo apt-get upgrade
2 . Install Webuzo V3
To install Webuzo on your server please execute the below commands on your server as root user.
wget -N http://files.webuzo.com/install.sh

chmod 0755 install.sh

./install.sh
Above commands will start the installation process which might take a few minutes to complete.
For advanced configuration during installation please click here. It will redirect to Webuzo Install Doc.
3. Access the Webuzo Control Panel
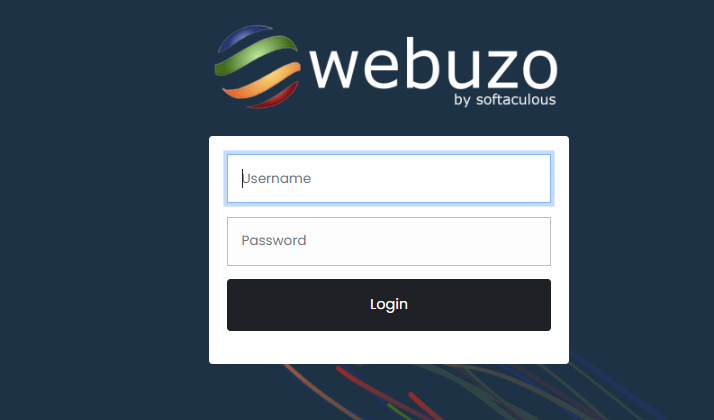
Post-installation is successfully completed, one can access the Webuzo control panel by entering the server's IP address followed by ":2004" or ":2005" in the web browser.
Let’s say for example, if the server's IP address is 192.168.1.100, one would enter "http://192.168.1.100:2004" in the web browser.
The username and password will be the root login credentials of your server.

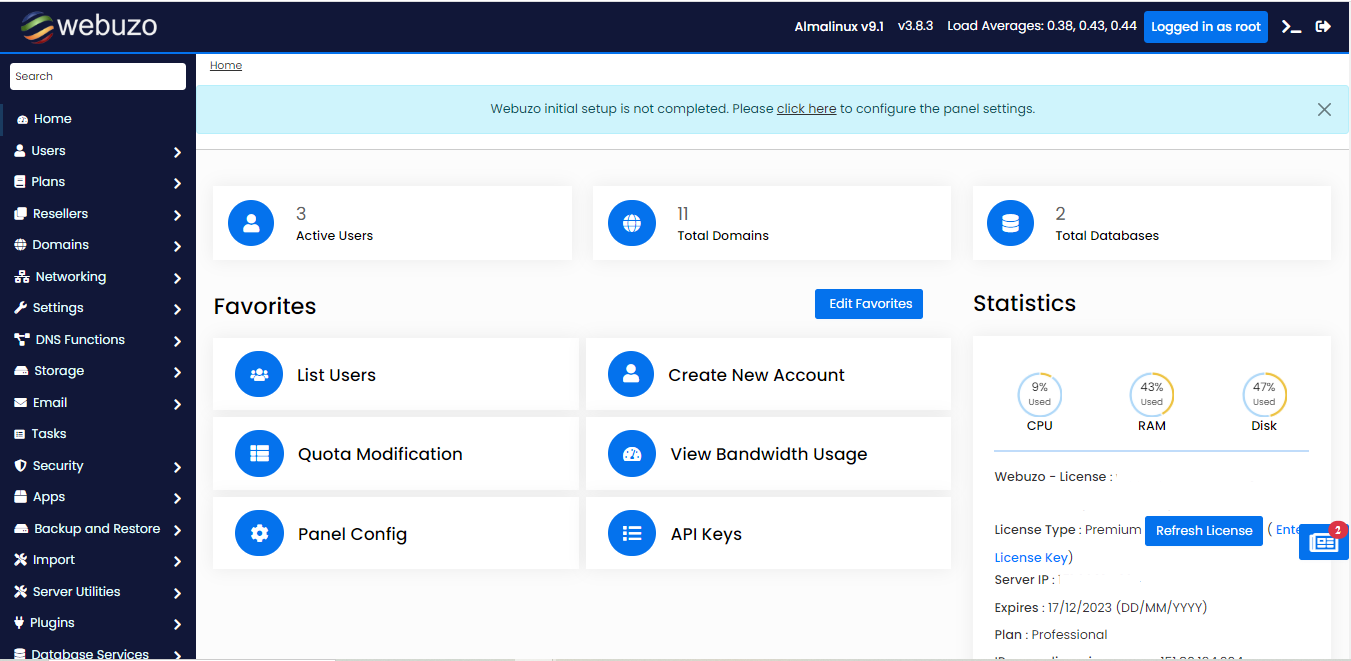
After successfully entering login details the Webuzo admin panel will appear

4. Configure Webuzo
After accessing the Webuzo control panel, one can configure it according to specific needs. One can set up the server, install applications as required, manage one or more databases, and much more using the user-friendly interface the control panel provides.
Installing the Webuzo control panel on the Linux server is a straightforward process that can be completed in just a few simple steps. Once installed, Webuzo provides a range of features that simplify server management, making it an ideal choice for beginners and experienced users alike. Give it a try and see how it can benefit your server management.
If one is looking for a powerful and user-friendly control panel for managing your web applications, Webuzo is highly recommended. With Webuzo, one can quickly and easily install a wide range of popular web applications on the Linux server, without having to worry about complex configurations or manual installations.
Also, don't forget to regularly update the Webuzo installation to ensure that one has the latest security patches and bug fixes. The Webuzo team releases frequent updates, so make sure to check for updates regularly and install them as soon as they become available.

