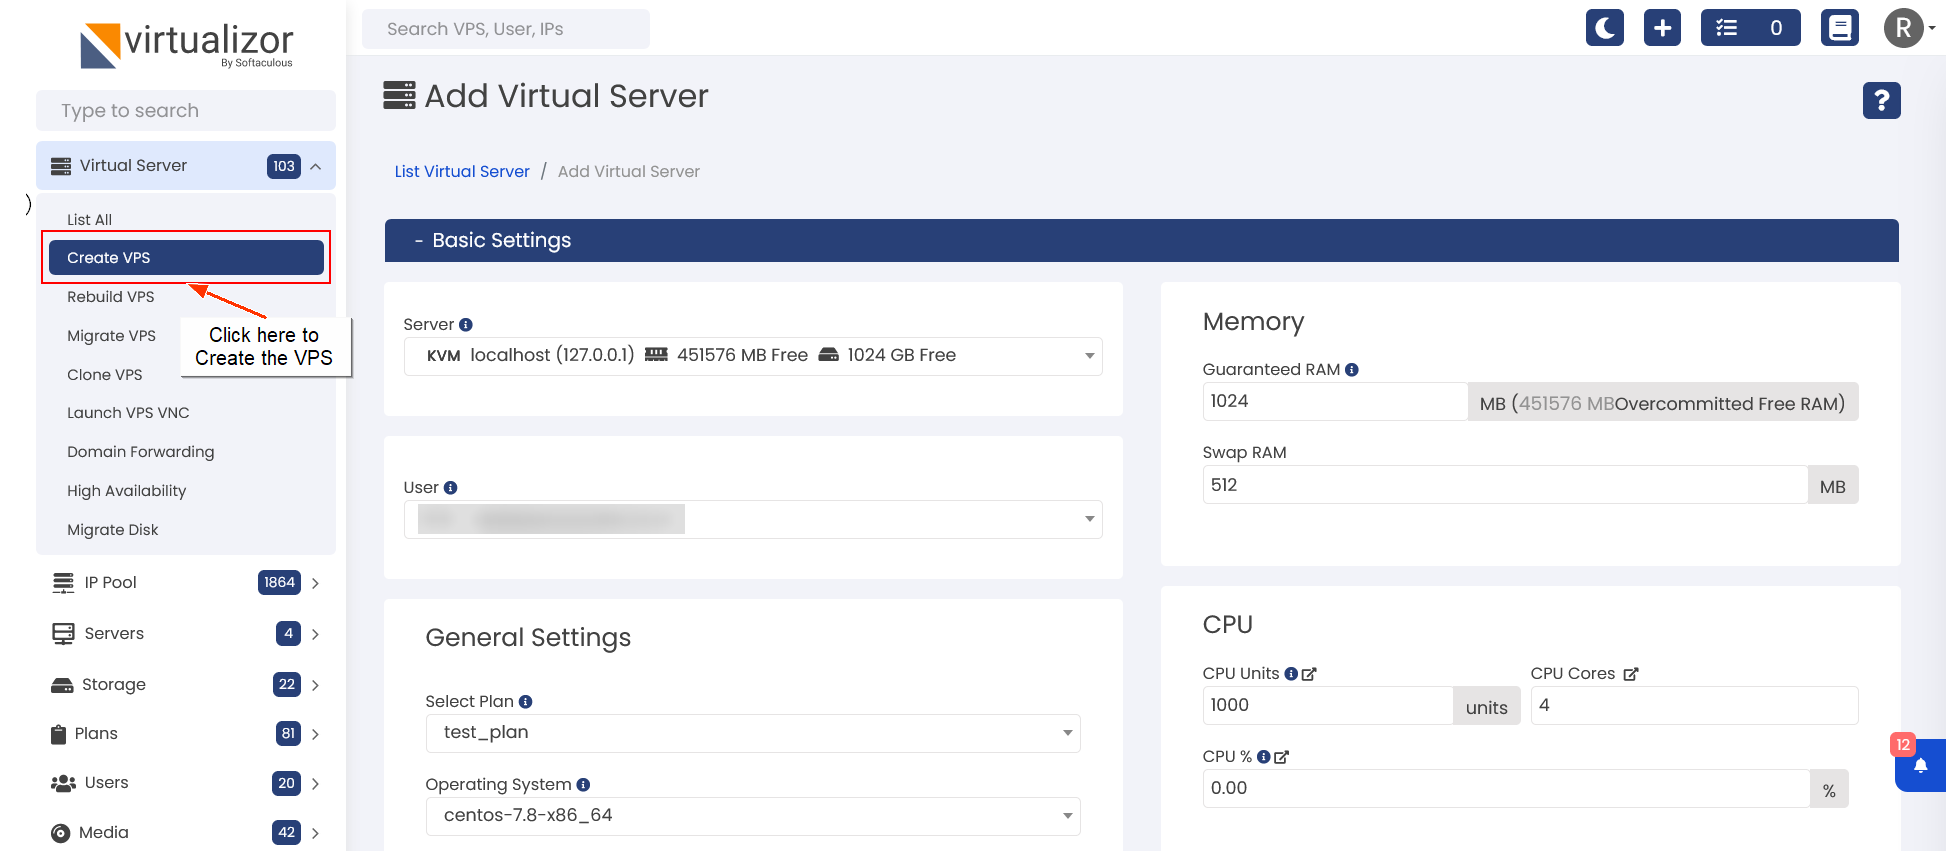
In Create VPS you can find 2 sections
1. Basic Settings
2. Advanced Options
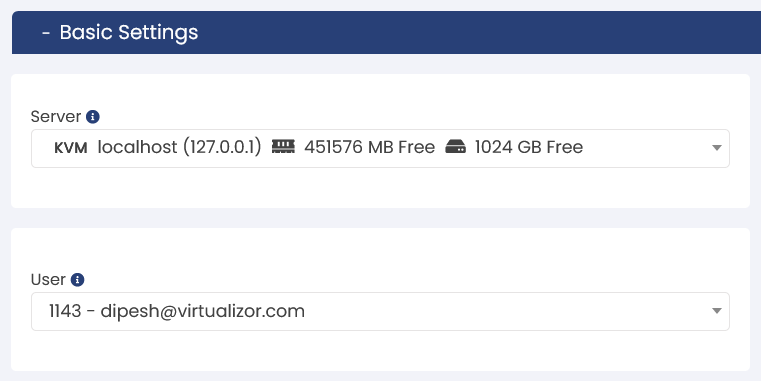
General Settings
Network

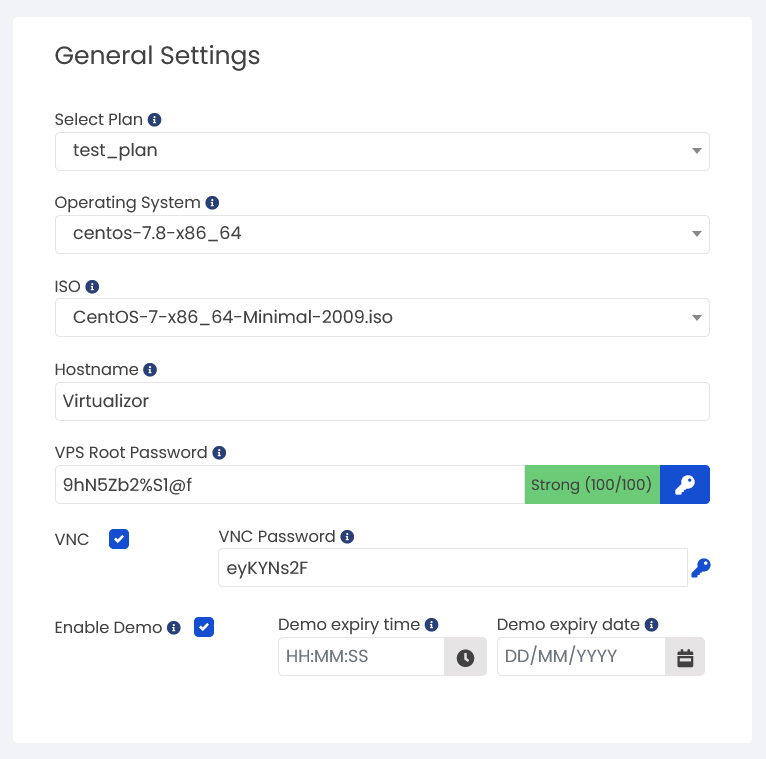
Memory
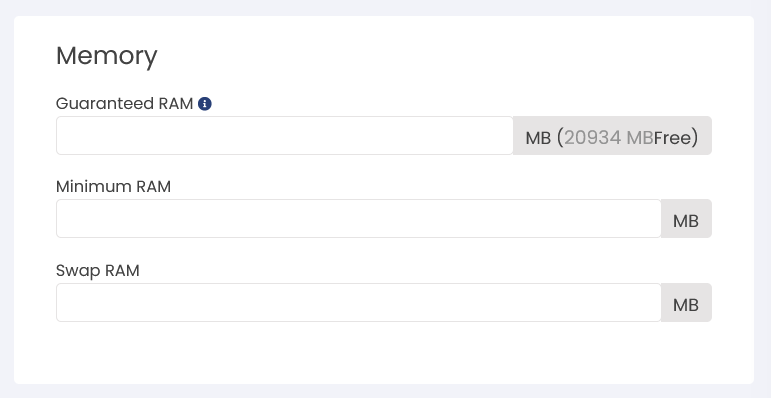
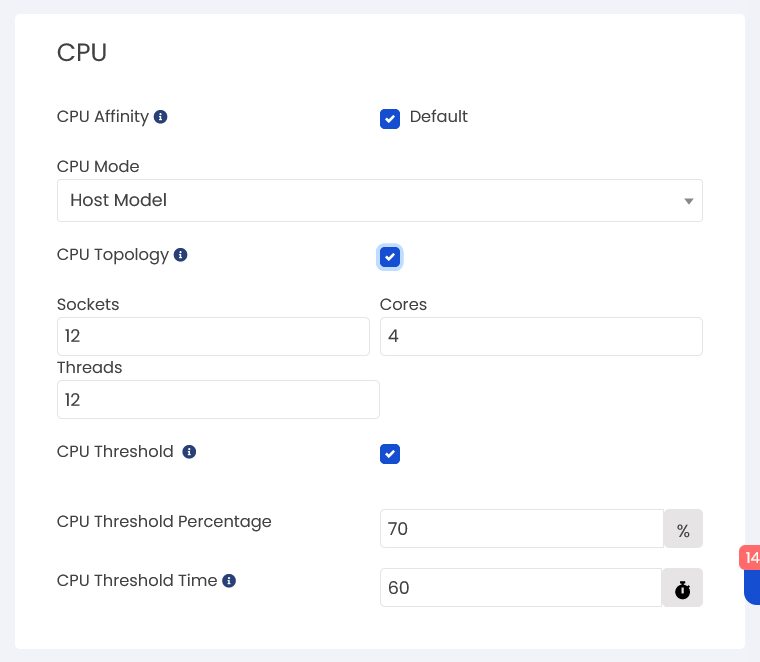
CPU
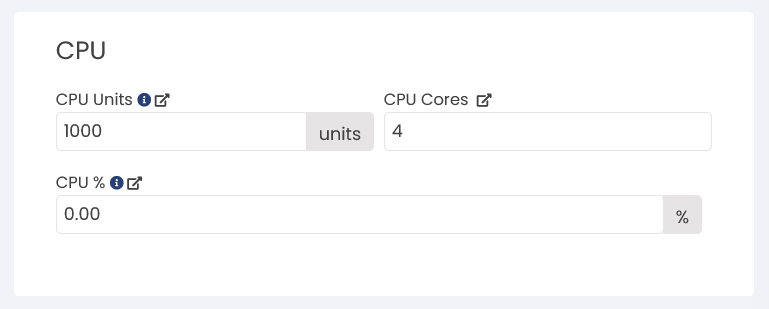
Example :
Core(s) to utilize on server (÷) total core(s) allocated to VPS x 100 = CPU% value.
Example 1 : If you've KVM VPS with 4 cores and you want it to utilize only 2 cores on the host server , then you can set the CPU% value as 50.
2 ÷ 4 x 100 = 50 (CPU%)
Example 2 : If you've a KVM VPS with 4 cores and you want it to utilize only 1 core on the host server , you can set the CPU% as 25.
1 ÷ 4 x 100 = 25 (CPU%)
Note : Each CPU core represents 100% of one physical core. This behavior may be different as per the base OS as well.
Disk

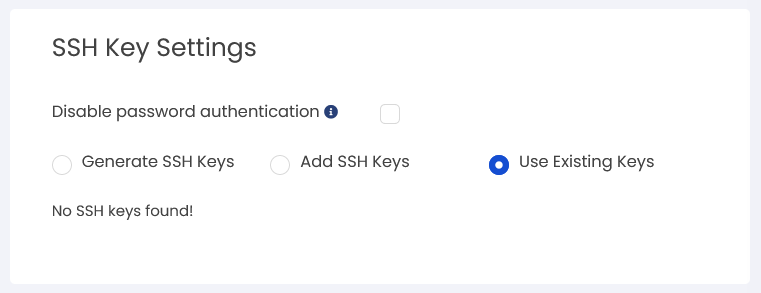
SSH Key Settings
Load Balancer Settings (Professional License)

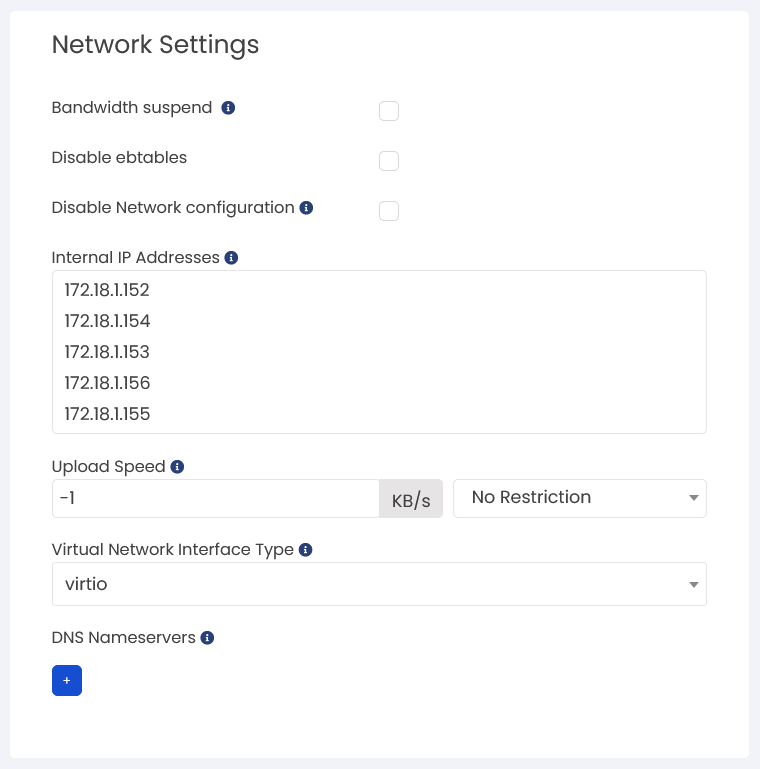
Network Settings
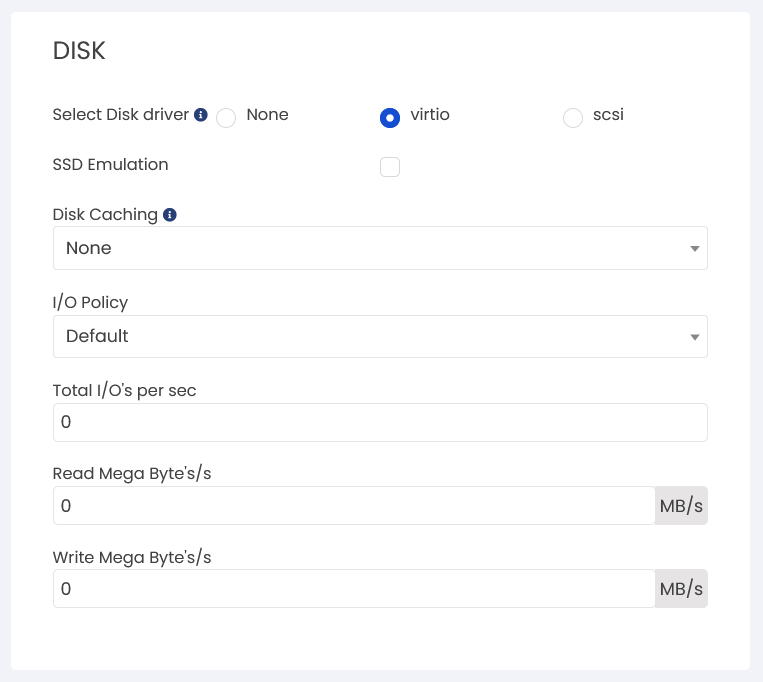
DISK
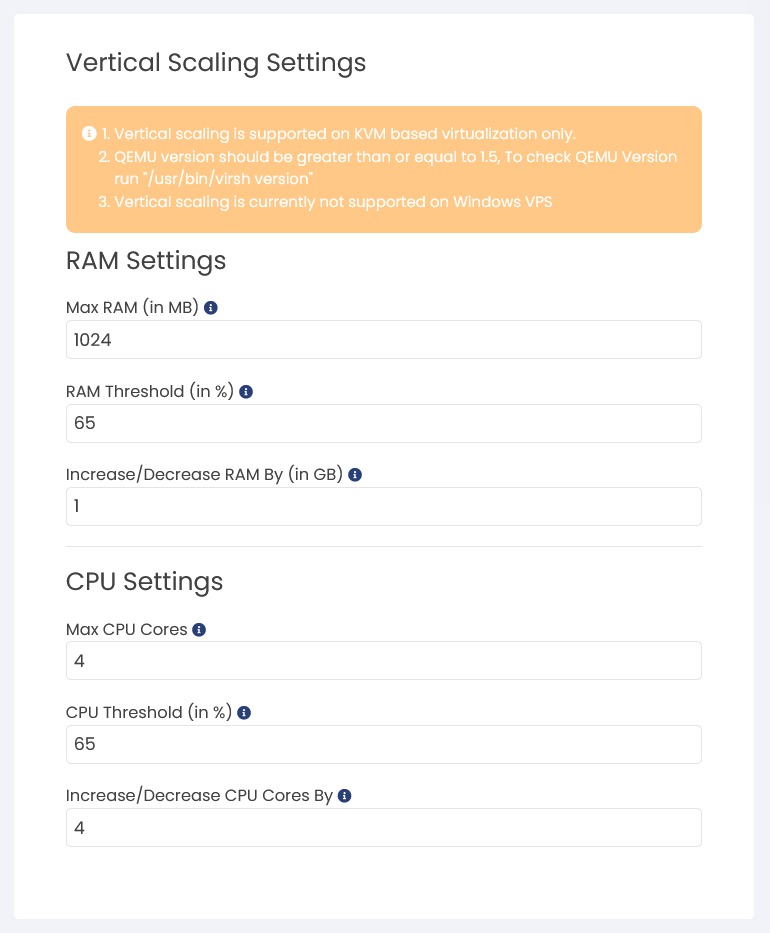
Vertical Scaling settings
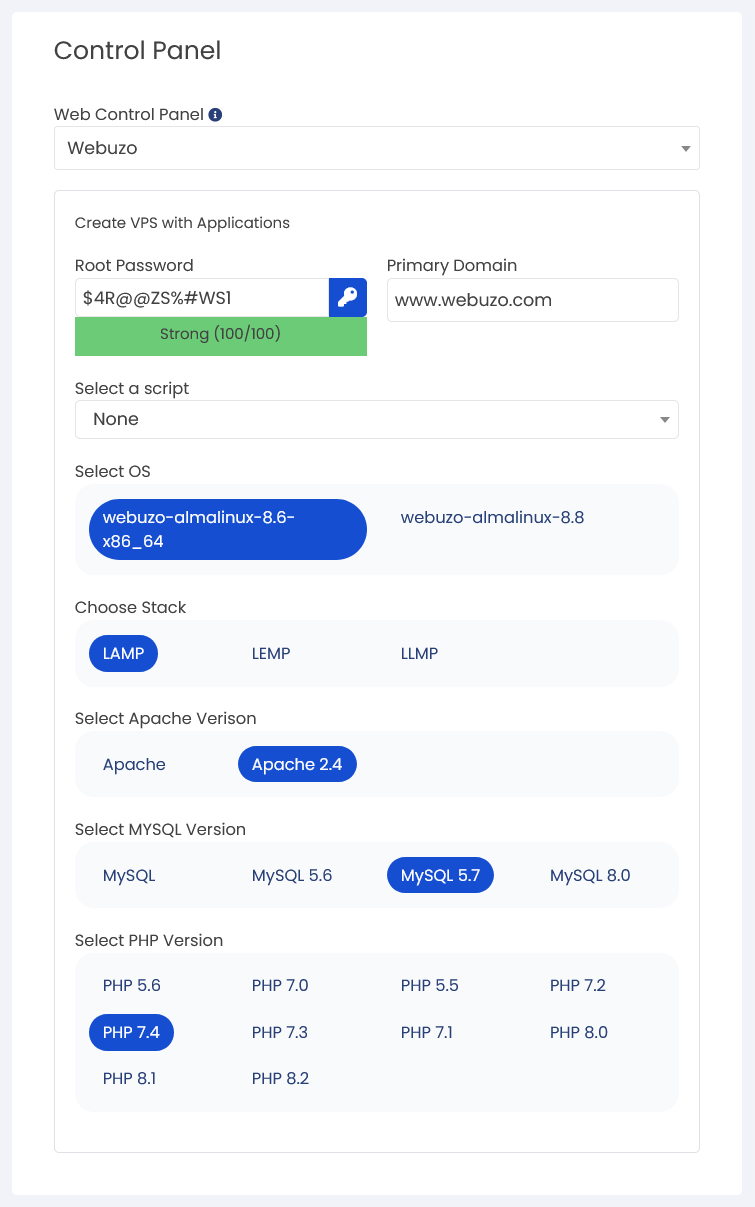
Control Panel
Virtualizor allows endusers and admins to install some Control Panels directly on the VPS. However, shutting down the VPS will be required in case of Xen and KVM VPS. list of Control panel is
1. Webuzo
2. Plesk
3. Cpanel
4. Webmin
5.Interwarx
6.ISPConfig
7. Centos Web Panel
8. VestaCP
CPU
Miscellaneous Settings
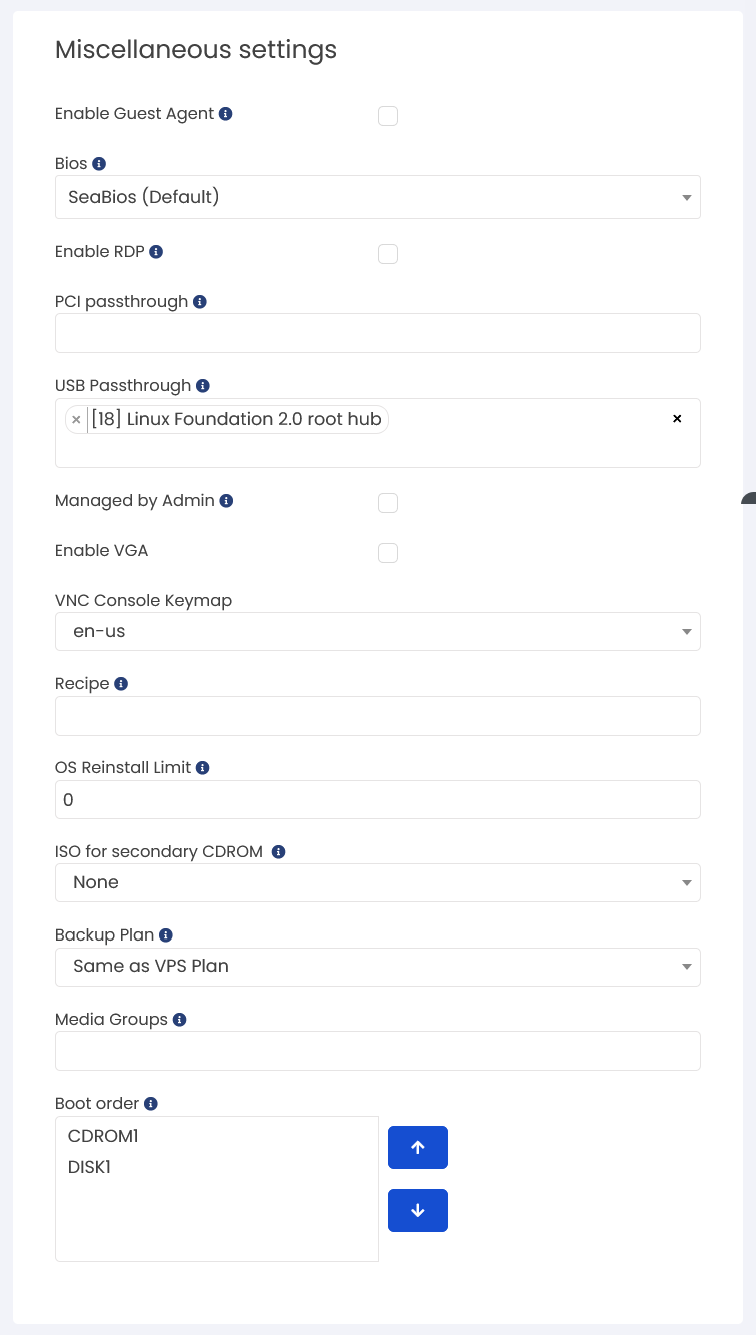
NOTE: If you are creating VPS using an Windows ISO, you will need to remove the system reserved partition manually after VPS creation and then ONLY Virtualizor will be able to perform operations like Change password and enabling RDP.
Here is the link for how to remove System reserved Partition for windows VPS :
Remove system Reserved partition
