Overview
This guide will help you in how to manage the Load Balancer from Admin panel
List Load Balancer
Go to Admin panel -> Load Balancer -> List load Balncer
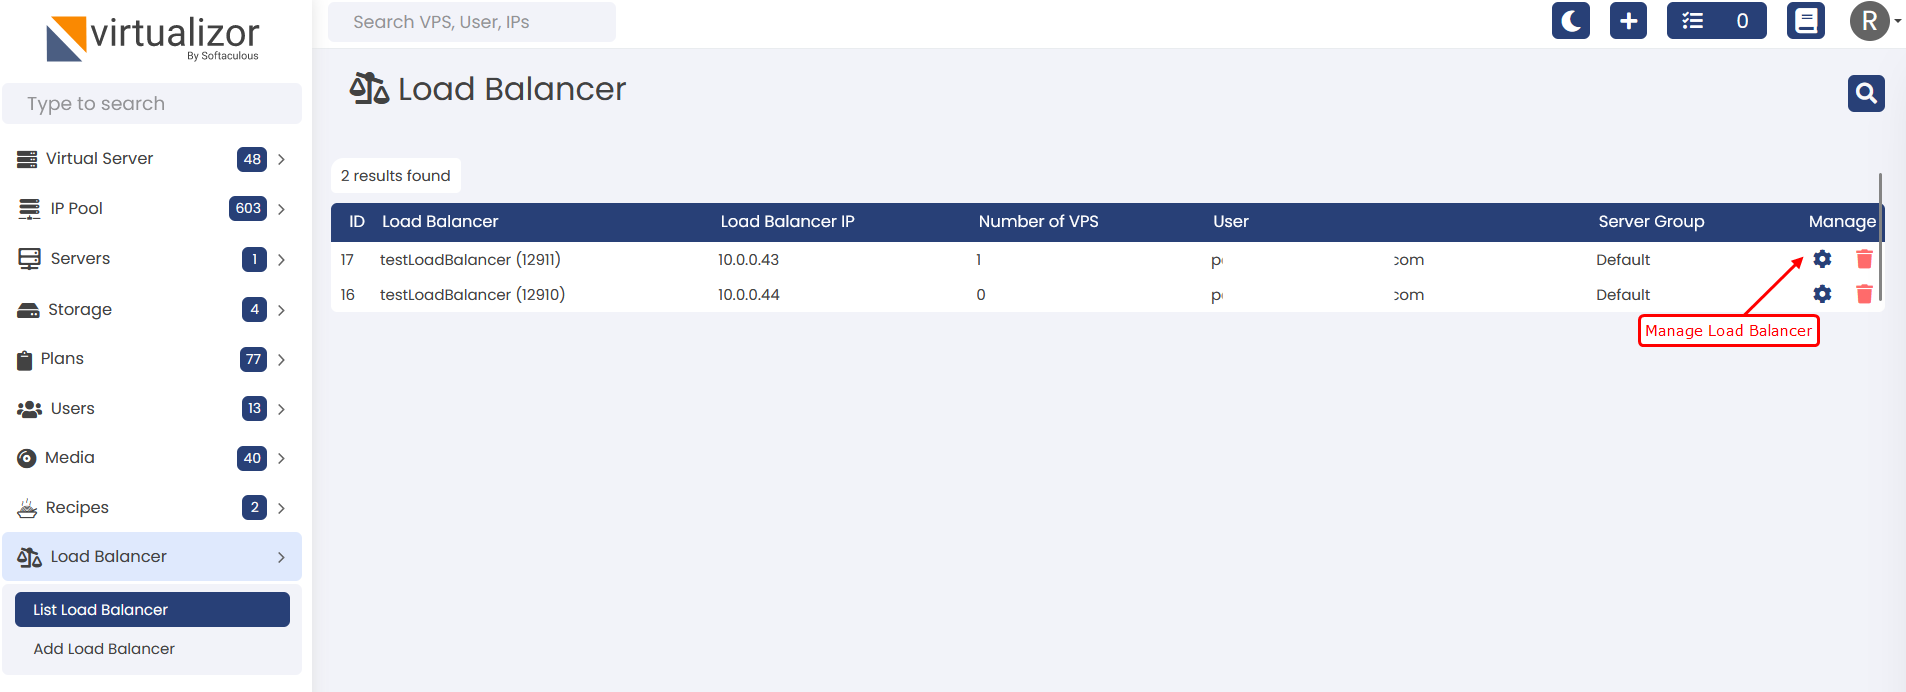
Manage Load Balancer
Once you click on the Manage Load Balancer button you will get the following wizard for that Load Balancer
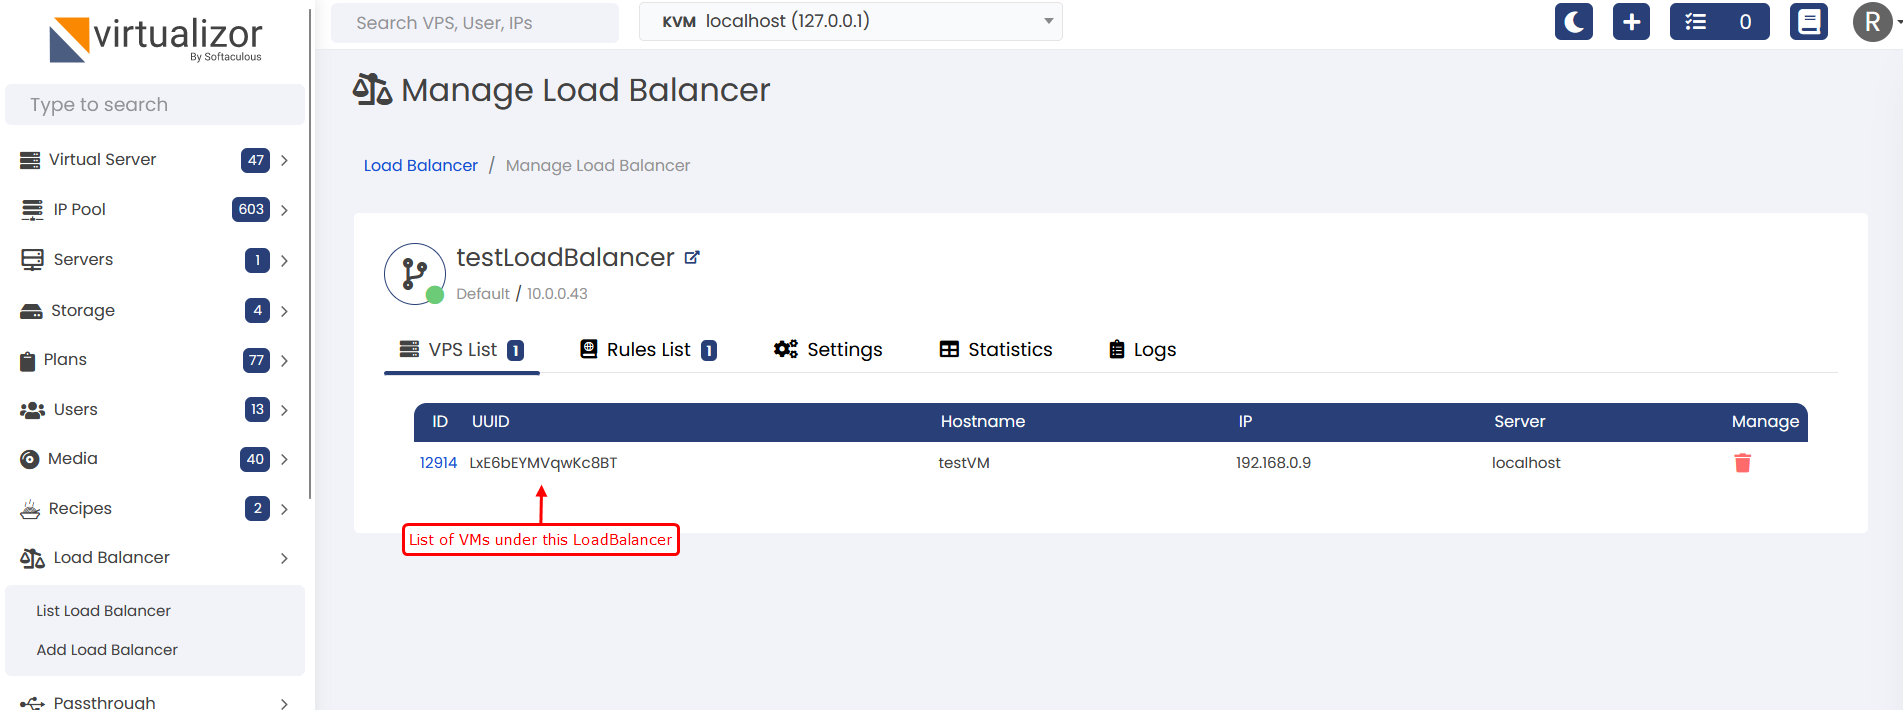
There are multiple tabs on the Manage load balancer wizard. We will describe all of them one by one.
1) VPS List - Here all the VM(s) will be listed which are under/behind this Load Balancer. To which the traffice will be redirected as per the Rules and algorithm selected.
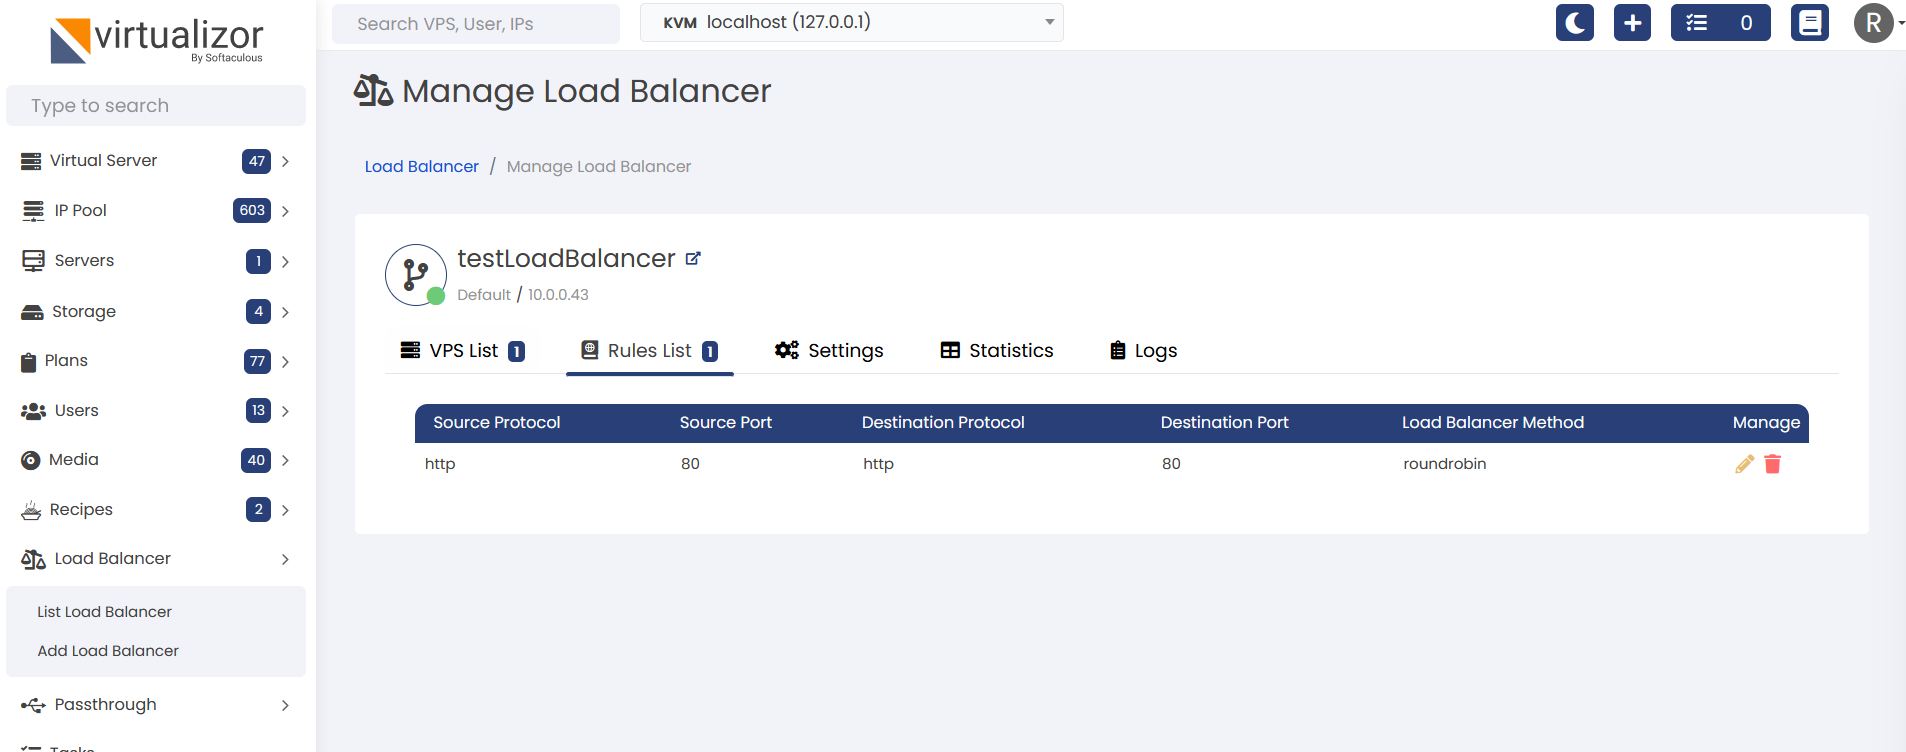
2) Rules List - Here you will see the current list of Rules which are being applied for the VM(s) which are under the current Load Balancer. By default, one rule will be added once you add any VM under the load balancer.
3) Settings - This tab will provide you the option to add Rules and set algorithms for how the load balancer should manage the requests for all the VM(s) under this load balancer.
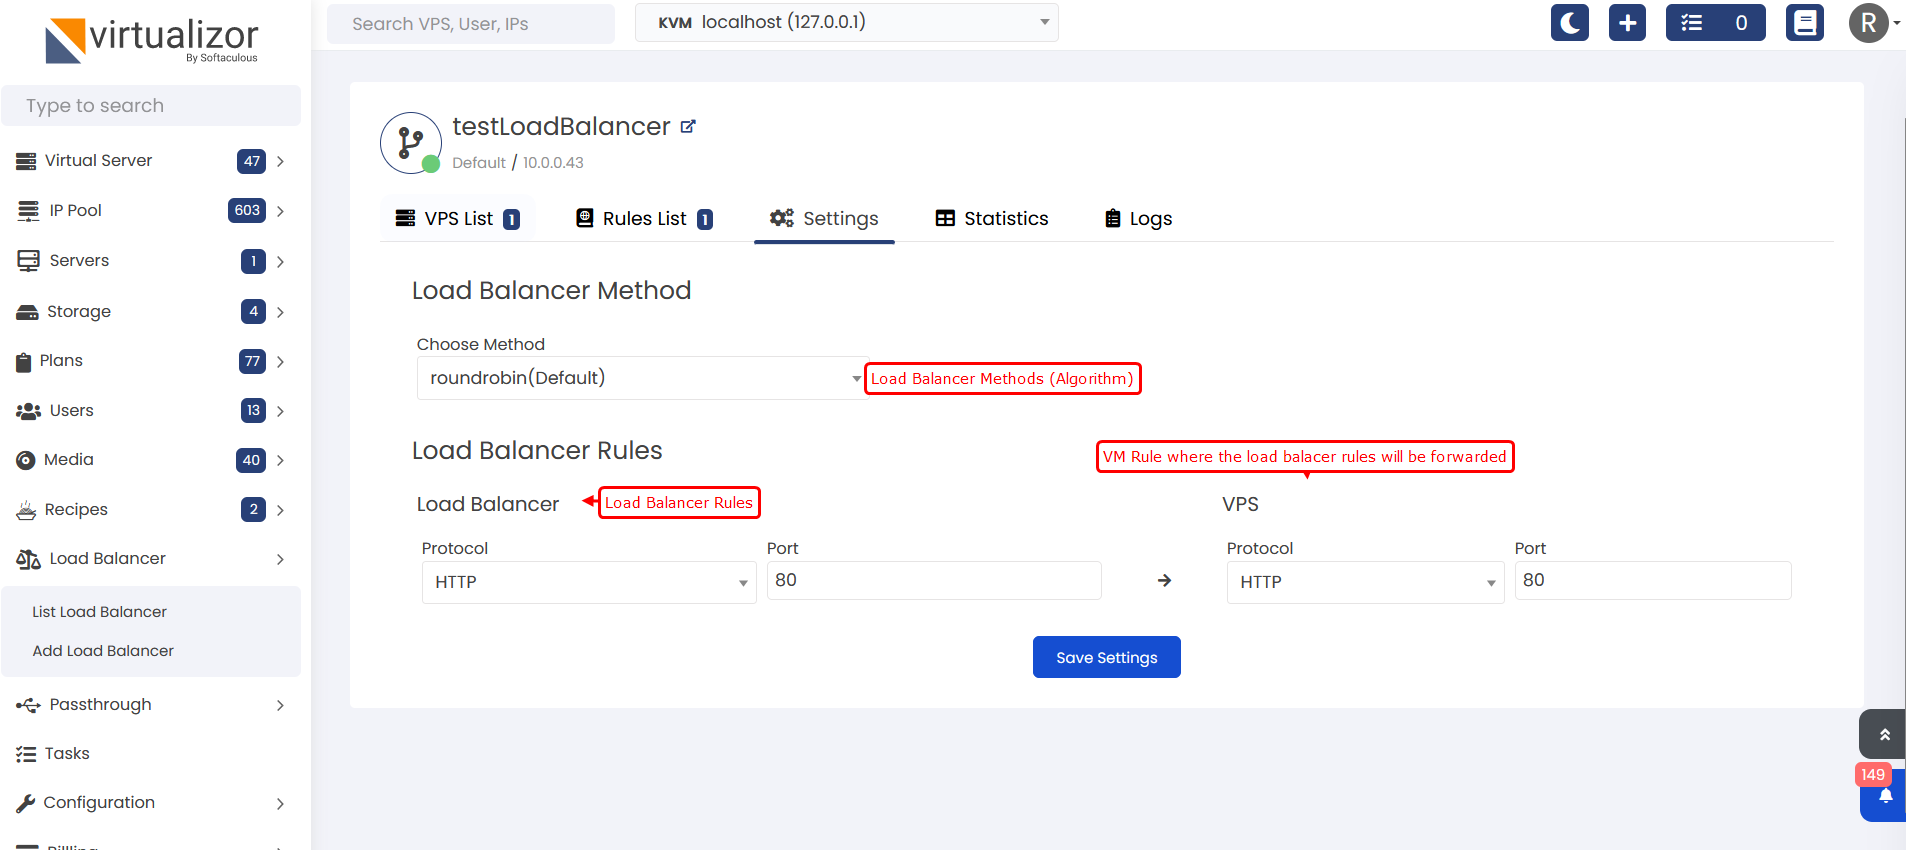
4.1) Load Balancer Method:
A. roundrobin - Round Robin selects servers in turns. This is the default algorithm.
B. leastconn - Select the server with the least number of connections. This is
recommended for longer sessions. Servers in the same backend are also
rotated in a round-robin fashion.
C. static-rr - Distributes each request sequentially around a pool of real servers as does Round-Robin,
but does not allow configuration of server weight dynamically. However,
because of the static nature of server weight, there is no limitation
on the number of active servers in the back end.
D. first - Select the on first come first serve bases.
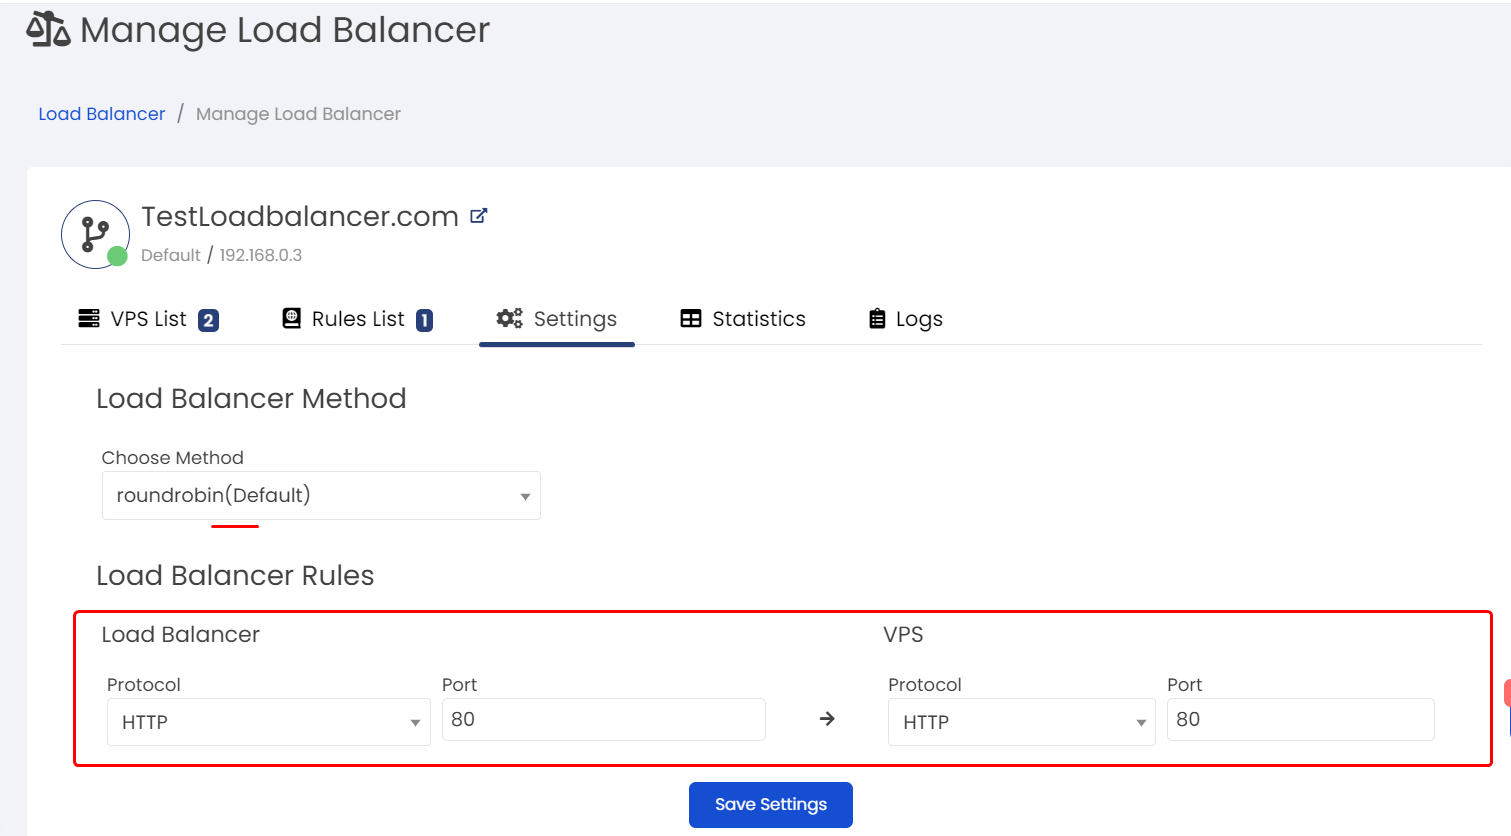
4.2) Load Balancer Rules
Load balancer rules will be based on two parts one will be for frontend (Load balancer) and the second will be for Backend (VM(s)).
You can set the Source protocol and Port for the Load balancer and Destination Protocol and Port for the VM(s).
Supported Source protocols are : HTTP, HTTPS, HTTP2, HTTP3, TCP
Supported Destination protocols are : HTTP, HTTPS, TCP
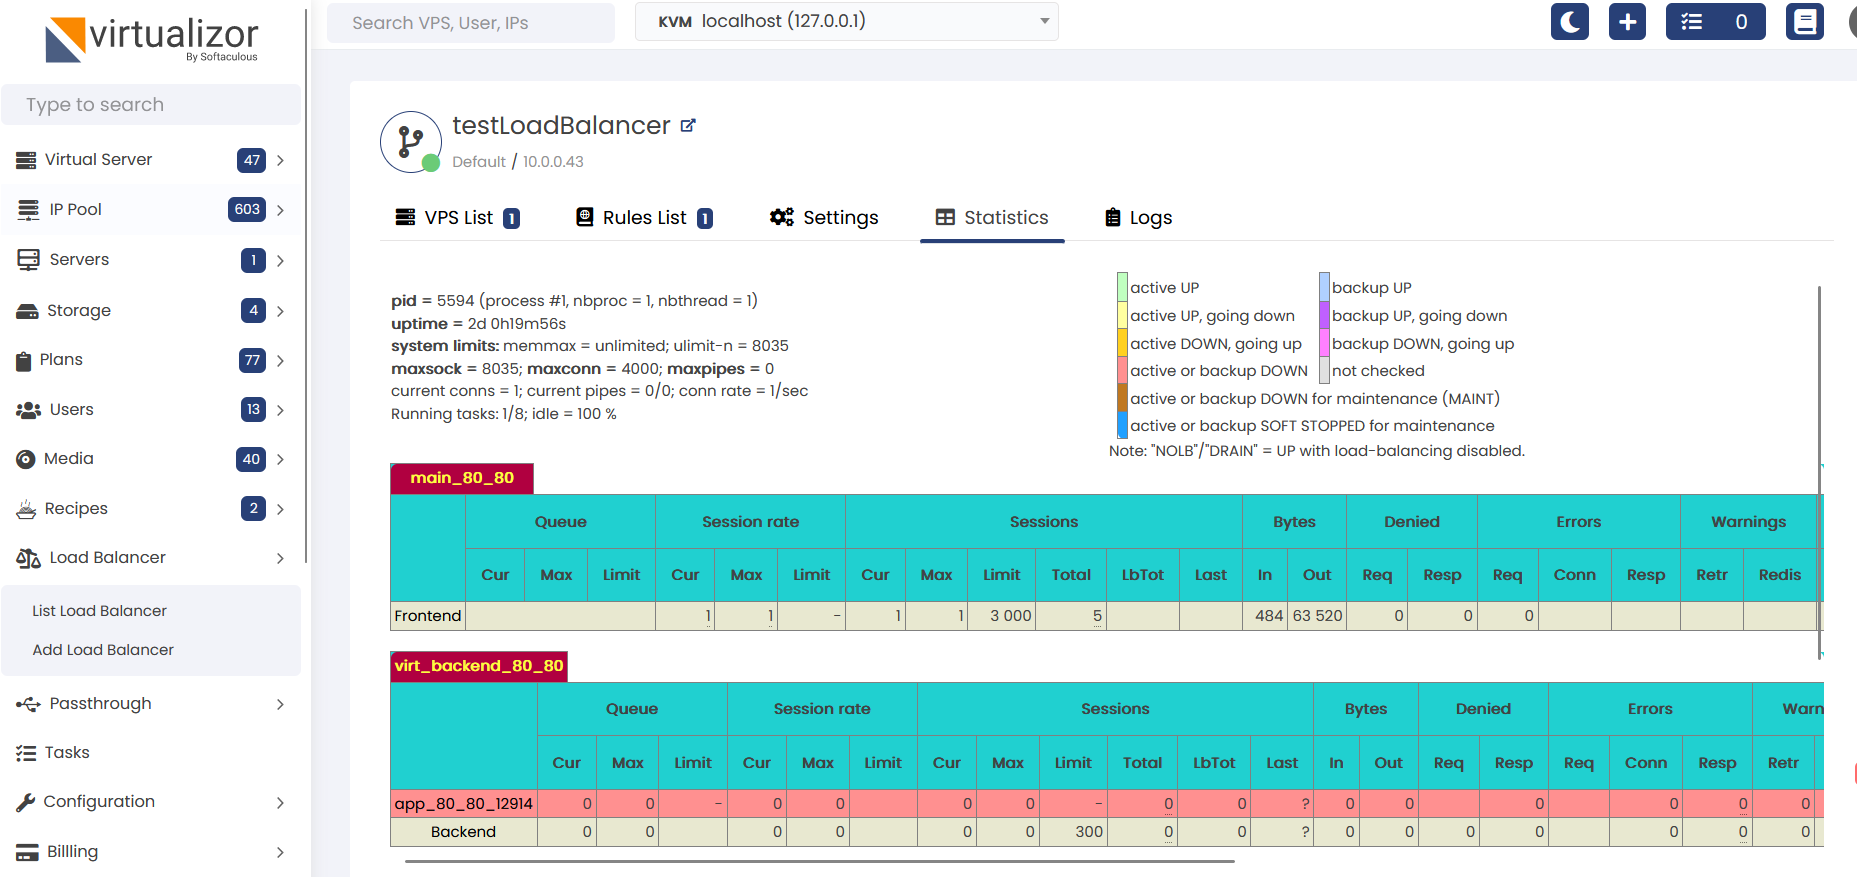
5) Statistics - It will show the Statistics Table for the Load balancer
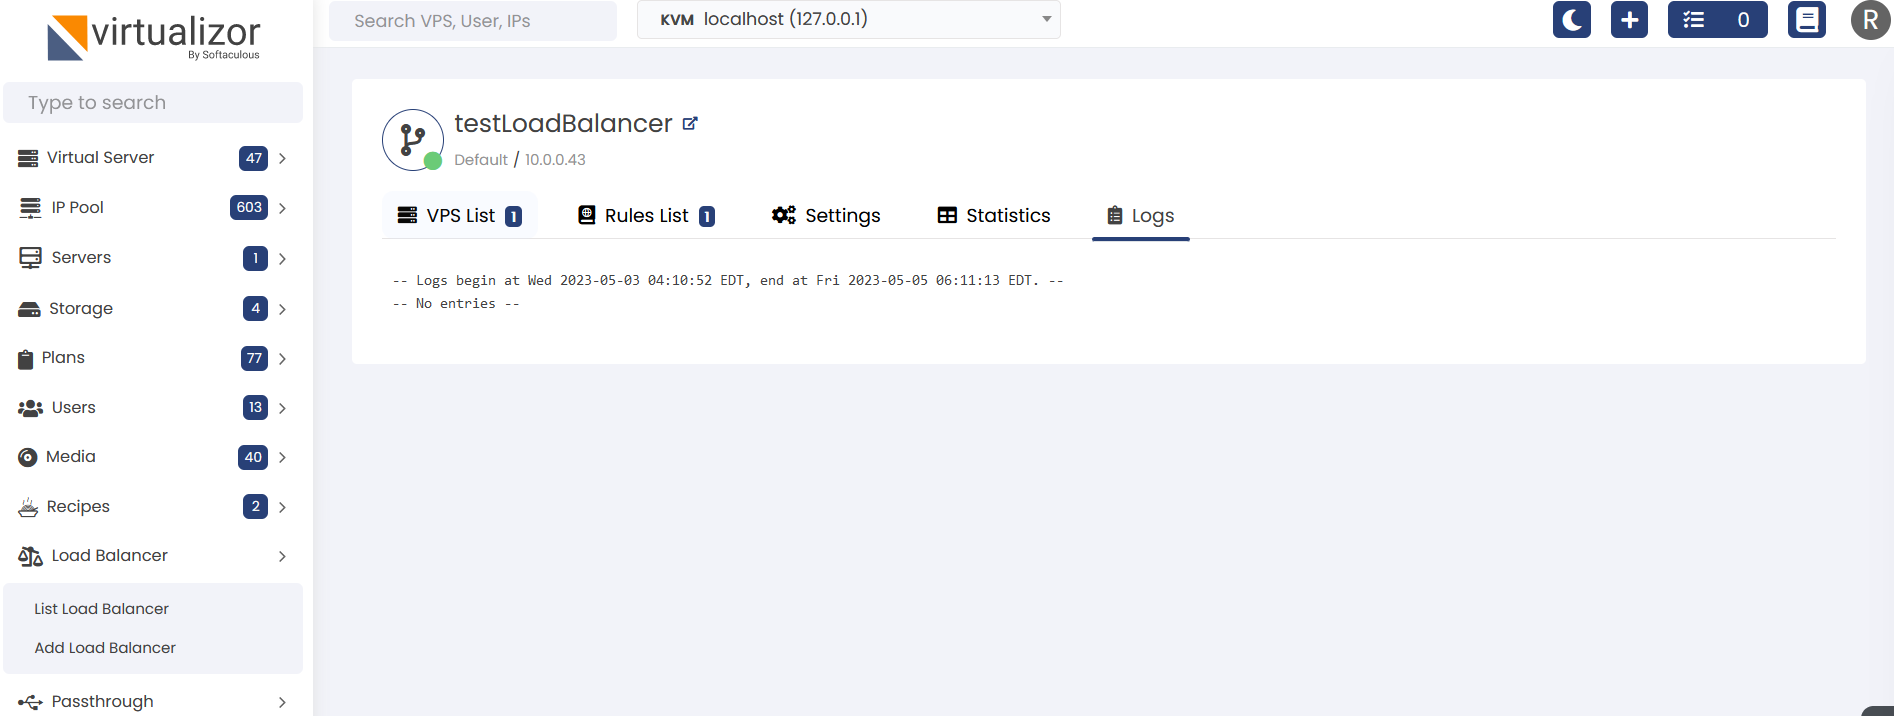
6) Logs - It will show the Log from the Load Balancer Machine.
This process requires to set up a load balancer VPS using HAProxy or Internal IP address, along with two backend VPSes to simulate load balancing. The load balancer will have two IP Address, a public IP for external access and an internal IP for communication with the backend VPSes.
1. Create and Configure Load Balancer VPS
1.1 Provision a Load Balancer VPS:
*Create a new VPS instance using Cloud User (Make sure Virtualizor billing is enabled for that cloud user.)
*Assign two IP addresses to this VPS 1 Public IP and 1 HAProxy or Internal IP :
Public IP: This IP will be used to access the load balancer from the internet.
HAProxy OR Internal IP: This IP will be used to communicate with the backend VPS.
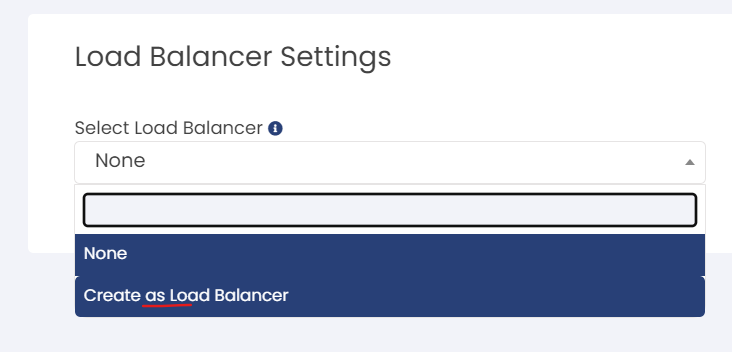
* Create VPS with "Create as Load Balancer" option selected. Once the VM is created, VPS will be created as a Load Balancer or choose the Load balancer option from Left menu.
Following screenshot is from Create VPS page.
1.2 Configure DNS:
Set up a domain name (loadbalancer.test.com) and point it to the public IP of the load balancer VPS.
2. Create and Configure Backend VPS
2.1 Provision Two Backend VPS:
*Create two additional VPS instances.
Both VPS should be created with same cloud user and select the load balancer which you have created.
*Assign each backend VPS an IP address in the same network as the HAProxy OR internal IP of the load balancer.
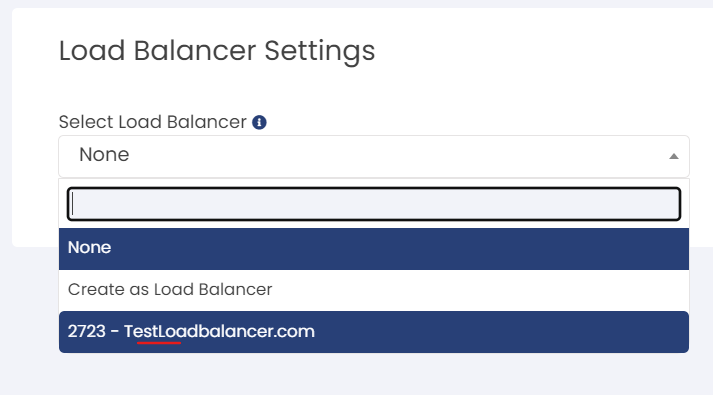
2.2 Install Web Servers:
Install a web server (e.g., Apache or Nginx) on both backend VPSs. For example, using Apache:
# apt install apache2
3. Create Custom index.html:
*Customize the index.html file to display the hostname or IP address of each backend VPS.
* Place a file in the web server's root directory, such as /var/www/html/ for Apache.
You can use the below example index.html content:
<!DOCTYPE html>
<html>
<head>
<title>
First Web Page
</title>
</head>
<body>
Hello World from replace-vps-hostname-value!
</body>
</html>
4. Verify Load Balancing
* Access the Load Balancer Domain:
Open a web browser and navigate to your URL/Domain : http://loadbalancer.test.com
*Check Load Balancing Behavior:
Refresh the page several times to check for changes in the displayed IP or hostname, indicating successful load balancing between the two backend servers assuming the settings look something like the following image.
